During my time using a Lenovo laptop, I often found myself in situations where I needed to quickly capture what’s on my screen. Whether it’s an important snippet of information, a memorable chat, or a visual error I need to report, capturing it immediately is crucial.
But here’s the catch: every laptop brand sometimes has its unique way of taking screenshots, making the process unexpectedly intricate. Just by pressing two keys together can get you a screenshot from a Samsung laptop but this may not be the case with very brand’s laptop. It’s easy to get bogged down, especially when a fleeting moment on your screen passes by uncaptured, all because the right combination of keys eluded you.
Given the frequency of such scenarios and the universal need to capture screen content, I’ve crafted this straightforward guide. If you’re looking to understand how to take a screenshot on a Lenovo laptop without any fuss, you’re in the right place. Let’s dive in and make this as simple as pressing a button—literally!
How To Take A Screenshot On A Lenovo Featuring Windows 10?
If you are using a Lenovo laptop featuring Windows 10, taking a screenshot is easiest for you.
Method 1
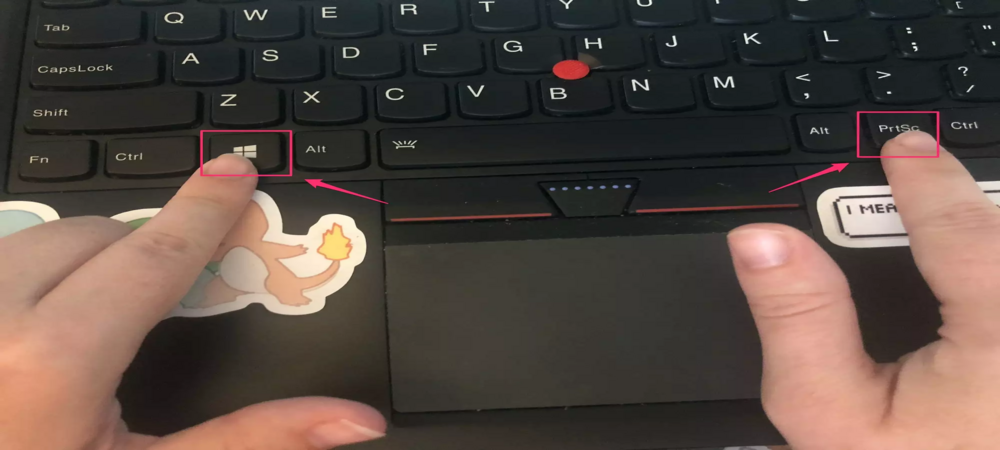
All you have to do is press the Windows Key And Print Screen Key simultaneously. You can also take screenshot on Acer laptop with this.
You can find the windows login button on the left side of the space bar while the print screen is present on the top right corner.
As you press both the keys, the screen goes dim, which implies you have successfully captured a screenshot and is ready to use. Move to the screenshots folder under your files section to see the screenshot.
Method 2
Press Windows key along with ‘W’ key.
It will open up a sidebar menu on the right side of your screen.
Go to the screen sketch tool or snipping tool. It has you trim down the screenshot so that you don’t have to share the entire tab section and the main content.
After you have edited, click on Save.
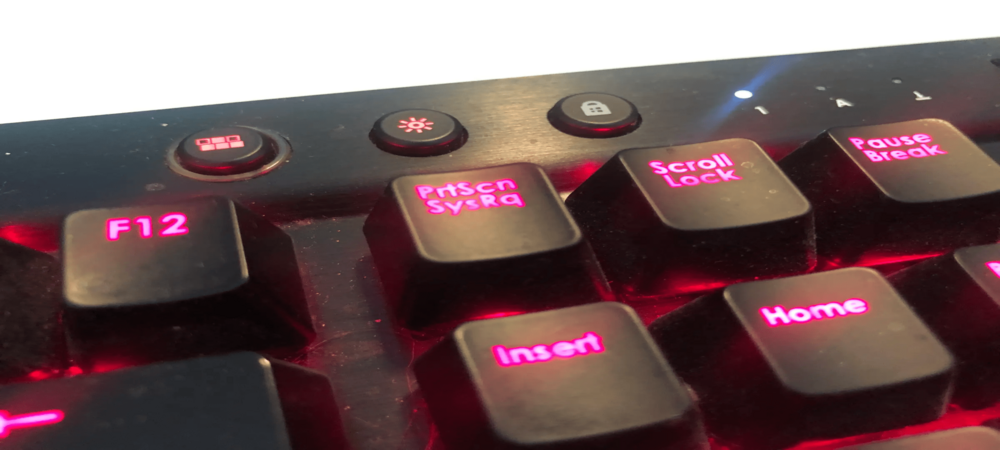
In some laptops, only pressing the Print Screen key also works. If it does not, try triggering the print screen along with the function key.
How To Take A Screenshot On A Lenovo Featuring Windows 8?
If you own a Lenovo laptop featuring Windows 8, then the process of taking a screenshot is almost the same as on Windows 10.
Go to the window tab and press the WINDOWS key and PRINTSCREEN key together like in Asus Laptops.
If you want to take a screenshot without using the print screen key, then it is possible.
For this, go to the tab you want to capture.
Press the WINDOWS button, SHIFT button, and S key altogether.
It will automatically copy on the clipboard.
While taking the screenshot, the screen becomes dim, and the cursor appears. It indicates a screenshot has been taken. Use the cursor to edit the size of the page you want to save.
The above process fits right for windows 10 too.
How to take a screenshot using a snipping tool?
The snipping method works in most of the brands laptop including Toshiba laptops.
- You can search for a snipping tool in your system and open it.
- Now click on the downward arrow beside NEW.
- It will open up a list of snips. Select any one as per your preference.
- Tap NEW.
- Use the scissor icon and hold it to draw the desired shape of the screenshot and release the cursor.
- Later you can use the screenshot from the clipboard.
Take a Screenshot On Lenovo Using Markup Hero
With Markup Hero, you can annotate and sort your screenshot as per requirement. It is free and compatible with all windows versions. You don’t have to sign in to use it.
Here’s how to do it.
- First, download Markup Hero if you don’t have one.
- Navigate to the Downloads folder of your device and click on the .exe file.
- No press on Control + Shift + 1 combinedly.
- Next, a cross icon appears, which you have to use to capture the screen.
Mark Hero allows you to take screenshots in different shapes and add designs highlights and colours as per your requirement at your fingertips. It also allows you to share the file anywhere easily.
Conclusion
Now you know how to take screenshots quickly using your Lenovo laptop. However, you can use a premium tool like markup Hero as it allows you to edit, highlight and add more creativity to your screenshot images.
In case you cannot take a screenshot anymore, check your device storage. At times laptop does not allow taking screenshots due to limited storage space; hence tri disc cleanup or move your files to other storage space. Then restart your device.
If your laptop has an F mode key or F lock key, it may also prevent you from taking a screenshot and enabling a print screen by clicking on the F mode key.
Give it a try and see how it works!